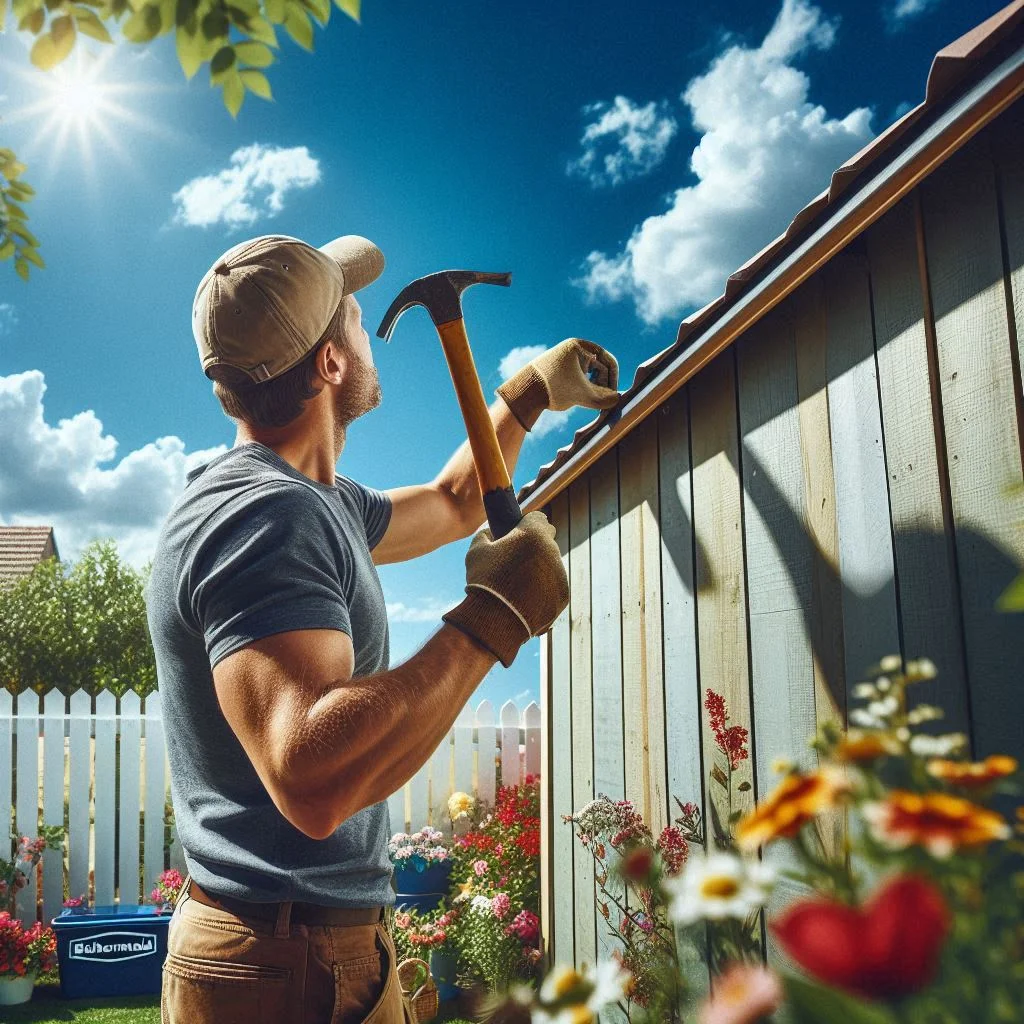
Rubbermaid sheds are known for their durability and longevity, but like any outdoor structure, they can be susceptible to wear and tear over time. One of the most common issues that Rubbermaid shed owners encounter is roof damage. Whether it’s due to harsh weather conditions or simply the passage of years, a damaged roof can compromise the integrity of your shed and its contents. In this blog post, we will explore the topic of Rubbermaid shed roof repair, offering you valuable tips and tricks to ensure your shed remains a reliable storage solution.
Understanding Rubbermaid Sheds:
Before we dive into the specifics of roof repair, it’s essential to have a basic understanding of Rubbermaid sheds. These sheds are made from high-quality, durable materials, typically a combination of resin and steel. They are designed to withstand various weather conditions, but no structure is completely immune to the forces of nature. The roof, in particular, is a vulnerable area that may require maintenance and repair over time.
Assessment and Preparation:
The first step in any roof repair project is a thorough assessment of the damage. Start by inspecting the roof for visible signs of wear and tear, such as cracks, holes, or loose components. Take note of the extent of the damage, as this will help you determine the necessary repairs.
Once you’ve assessed the damage, gather the following materials for your repair project:
- Safety gear (gloves, safety goggles)
- Rubbermaid shed repair kit (available from the manufacturer)
- Caulk or sealant
- Screwdriver and screws
- Replacement roof panels (if needed)
Repairing Small Cracks and Holes:
For minor cracks and small holes in the roof of your Rubbermaid shed, you can use a Rubbermaid shed repair kit. These kits typically include patching materials specifically designed for Rubbermaid sheds. Follow these steps:
- Clean the damaged area: Remove any debris or loose material from the damaged area. This will ensure that the patch adheres properly.
- Apply the patch: Follow the instructions provided in the repair kit to apply the patch material. It often involves using adhesive or sealant to cover the damaged area.
- Allow it to dry: Give the patch ample time to dry and set, as per the instructions. This will ensure a strong bond.
Repairing Larger Damage:
For more extensive damage, such as larger holes or sections of the roof that have come loose, you may need to take additional steps:
- Remove the damaged section: Carefully remove the damaged section of the roof using a screwdriver or appropriate tools.
- Replace with new panels: If you have replacement roof panels available, install them according to the manufacturer’s instructions. Make sure they are securely attached.
- Seal any gaps: Use caulk or sealant to seal any gaps or seams to prevent water infiltration.
Maintenance Tips for Longevity:
After completing the necessary repairs, it’s essential to maintain your Rubbermaid shed’s roof to ensure its longevity. Here are some tips:
- Regular inspections: Periodically inspect your shed’s roof for any signs of new damage. Catching issues early can prevent more extensive repairs.
- Clean the roof: Remove debris, leaves, and snow from the roof regularly to prevent water from pooling and causing damage.
- Apply UV protection: If your Rubbermaid shed is exposed to direct sunlight, consider applying UV protection to the roof to prevent fading and deterioration.
Additional Tips for Rubbermaid Shed Roof Repair:
- Address drainage issues: Ensure that the shed is properly leveled and that water can flow off the roof effectively. Poor drainage can lead to water pooling on the roof, which can accelerate wear and tear.
- Reinforce weak spots: If you notice areas of the roof that seem weaker or more susceptible to damage, consider reinforcing them with additional sealant or patching materials as a preventive measure.
- Weatherproofing: In regions with extreme weather conditions, consider adding weatherproofing measures, such as installing gutter systems or snow guards, to protect your Rubbermaid shed from the elements.
- Regularly check fasteners: Periodically inspect the screws and fasteners that hold your shed together. Tighten any loose screws to ensure the shed’s structural integrity.
- Painting and sealing: Depending on your shed’s material, consider painting it with a weather-resistant paint or applying a sealant to further protect it from moisture and UV rays.
- Consult the manufacturer: If you encounter extensive roof damage or are unsure about the repair process, don’t hesitate to reach out to Rubbermaid’s customer support or consult their official website for guidance and resources.
- Keep records: Document your maintenance and repair activities. Note down the dates of inspections and repairs, as well as the materials used. This information can be valuable if you ever need to warranty claims or future repairs.
Conclusion:
Taking care of your Rubbermaid shed’s roof is essential for maintaining its functionality and prolonging its lifespan. Regular inspections, timely repairs, and proactive maintenance measures can make a significant difference in preserving the integrity of your shed.
Remember that while many repairs can be done by DIY enthusiasts, there may be cases where professional assistance is necessary, especially for major structural issues. Safety should always come first, so if you are unsure about the severity of the damage or the repair process, don’t hesitate to seek professional help.
By following these additional tips and being vigilant about the condition of your Rubbermaid shed’s roof, you can ensure that it continues to serve as a reliable and long-lasting storage solution for your outdoor needs.

