Built-in shelves in closets can provide valuable storage space, but there may come a time when you want to reconfigure the layout or remove them altogether. Whether you’re looking to create a more open space or update your closet’s design, removing built-in shelves can be a straightforward DIY project. In this blog post, we will guide you through the process of removing built-in shelves in closets, ensuring that you can achieve a clean and efficient transformation.
Step 1:
In order to remove Built-in shelves in closets, empty the closet and plan your approach Before you begin removing the built-in shelves, remove all items from the closet to ensure they won’t hinder your progress. Take some time to plan your approach and decide how you want to proceed. Consider the desired layout or modifications you wish to make to the closet after the shelves are removed.
Step 2:
Remove any screws or nails Inspect the built-in shelves and identify any screws or nails that are securing them in place. Use a screwdriver or a pry bar to carefully remove these fasteners. Be cautious not to damage the closet walls or surrounding structures as you work.
Step 3:
Disassemble the shelves If the built-in shelves are constructed as individual units, you can disassemble them by removing the connectors or screws that hold them together. Carefully take apart each shelf, starting from the top and working your way down. If the shelves are fixed together, you may need to use a saw or chisel to separate them.
Step 4:
Remove any adhesive or caulk In some cases, built-in shelves may be attached to the walls using adhesive or caulk. Use a putty knife or scraper to carefully remove any residual adhesive or caulk from the closet walls. Take your time and be gentle to avoid damaging the wall surface.
Step 5:
Patch and repair After removing the shelves, assess the condition of the walls. If there are any holes or damage left behind from the screws or nails, use spackling compound or putty to fill them in. Smooth the surface with sandpaper once the compound has dried. If necessary, you may need to repaint the closet walls to achieve a seamless finish.
Step 6:
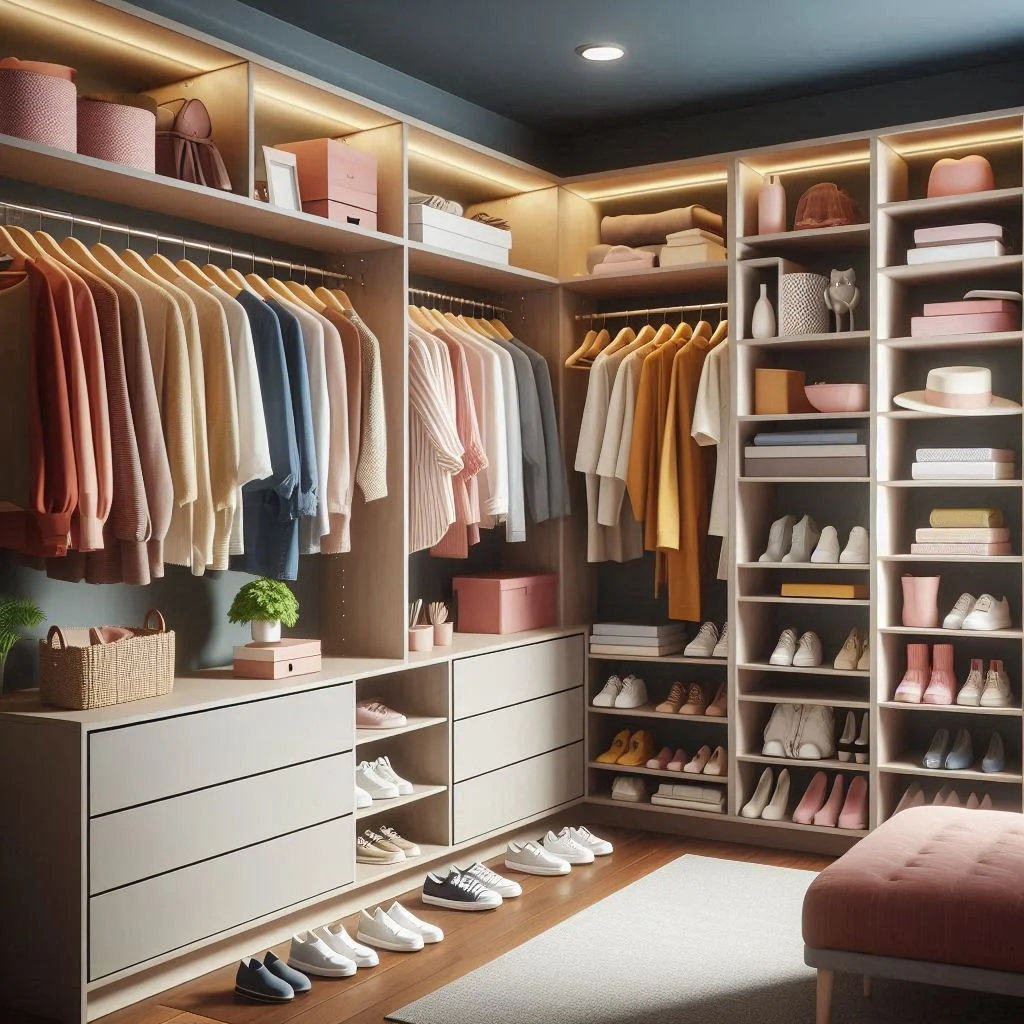
Consider new storage solutions With the built-in shelves removed, you now have a blank canvas to create a new storage setup that suits your needs. Take this opportunity to explore different storage options, such as modular shelving systems, hanging rods, or customized closet organization systems. Consider factors like your wardrobe size, available space, and personal preferences when choosing the new storage solutions for your closet.
Step 7:
Install new storage components Once you have chosen the new storage components, carefully follow the manufacturer’s instructions for installation. Measure and mark the desired positions for shelves, rods, or other accessories, ensuring they are level and secure. Take your time during the installation process to ensure a sturdy and functional final result.
Step 9:
Utilize additional storage solutions If you find that the new storage components are not sufficient to accommodate all your belongings, consider incorporating additional storage solutions. Utilize space-saving organizers such as hanging shelves, over-the-door hooks, or storage bins to maximize every inch of your closet. Make use of vertical space by adding hooks or racks for purses, scarves, or belts.
Step 10:
Maintain and optimize your new closet setup Once you have completed the removal of built-in shelves and implemented your new storage solutions, it’s important to maintain and optimize your closet setup over time. Regularly assess the functionality and organization of your closet, making adjustments as needed. Keep up with decluttering on a regular basis to prevent your closet from becoming overwhelmed with unnecessary items. This will help ensure that your closet remains an efficient and enjoyable space.
Conclusion:
Removing built-in shelves in closets can be a rewarding project that allows you to transform your storage space to better suit your needs. By following this step-by-step guide and considering additional storage options, you can create a customized and organized closet that maximizes space and functionality. Remember to plan your approach, take your time during the removal process, and consider new storage solutions that align with your preferences. With careful planning and a little creativity, you can achieve a closet that is both functional and aesthetically pleasing. Enjoy the process of creating your new and improved closet space!